
AC Stopped Working? 7 Things to Check Before You Call for Repair
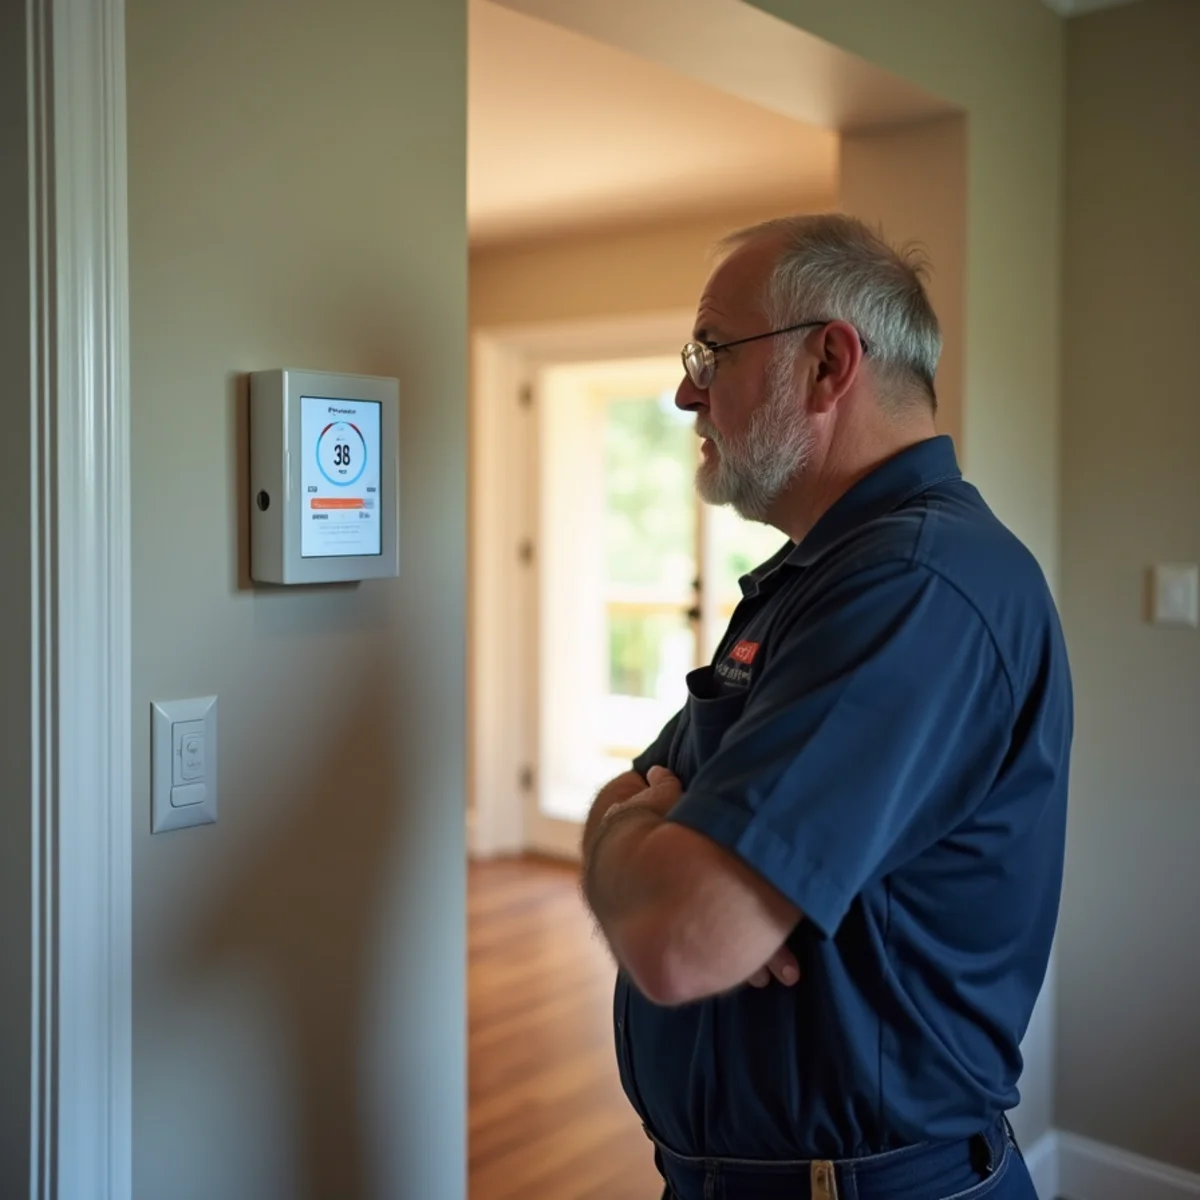
1. Inspect the Thermostat Settings, Wiring, and Batteries
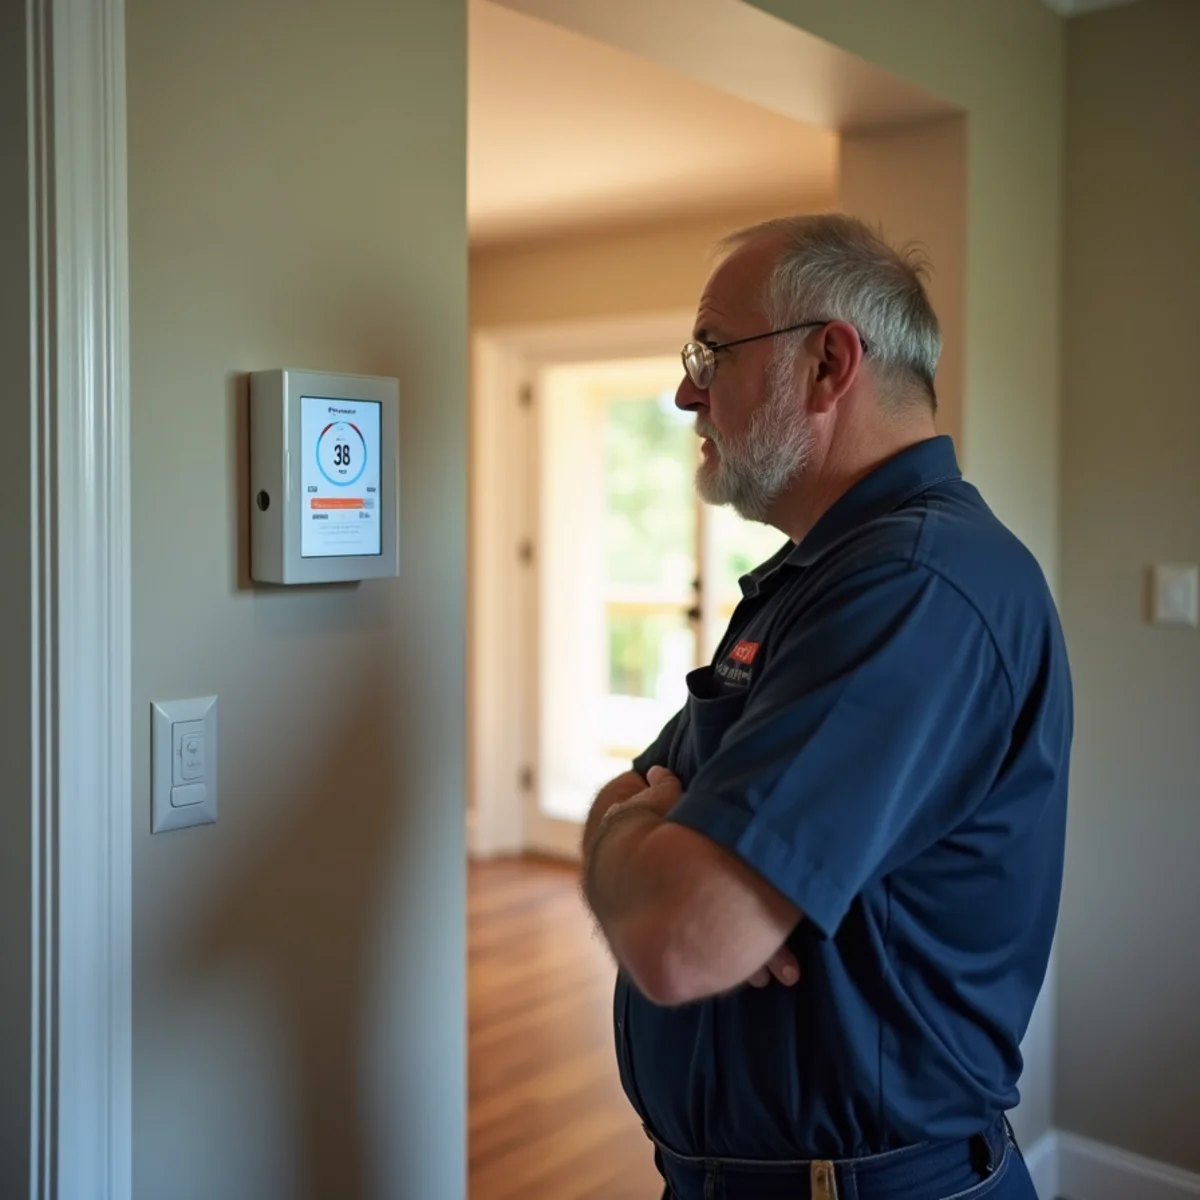
Start with the simplest failure point: the thermostat interface. Ensure the system mode is explicitly set to 'COOL' (not 'HEAT' or 'OFF') and that the temperature setpoint is at least 3 to 5 degrees below the current room temperature. If your digital thermostat screen is blank, replace the AA or AAA alkaline batteries immediately. Many smart thermostats (like Nest or Ecobee) can lose connection or power if a low-voltage 3-amp or 5-amp fuse trips on the indoor air handler circuit board, cutting the 24V common C-wire feed. Verify that the fan setting is set to 'AUTO' rather than 'ON'—running the fan on 'ON' forces the blower to circulate warm room air continuously even when the outdoor compressor is idle, blowing lukewarm, humid air back through your registers.
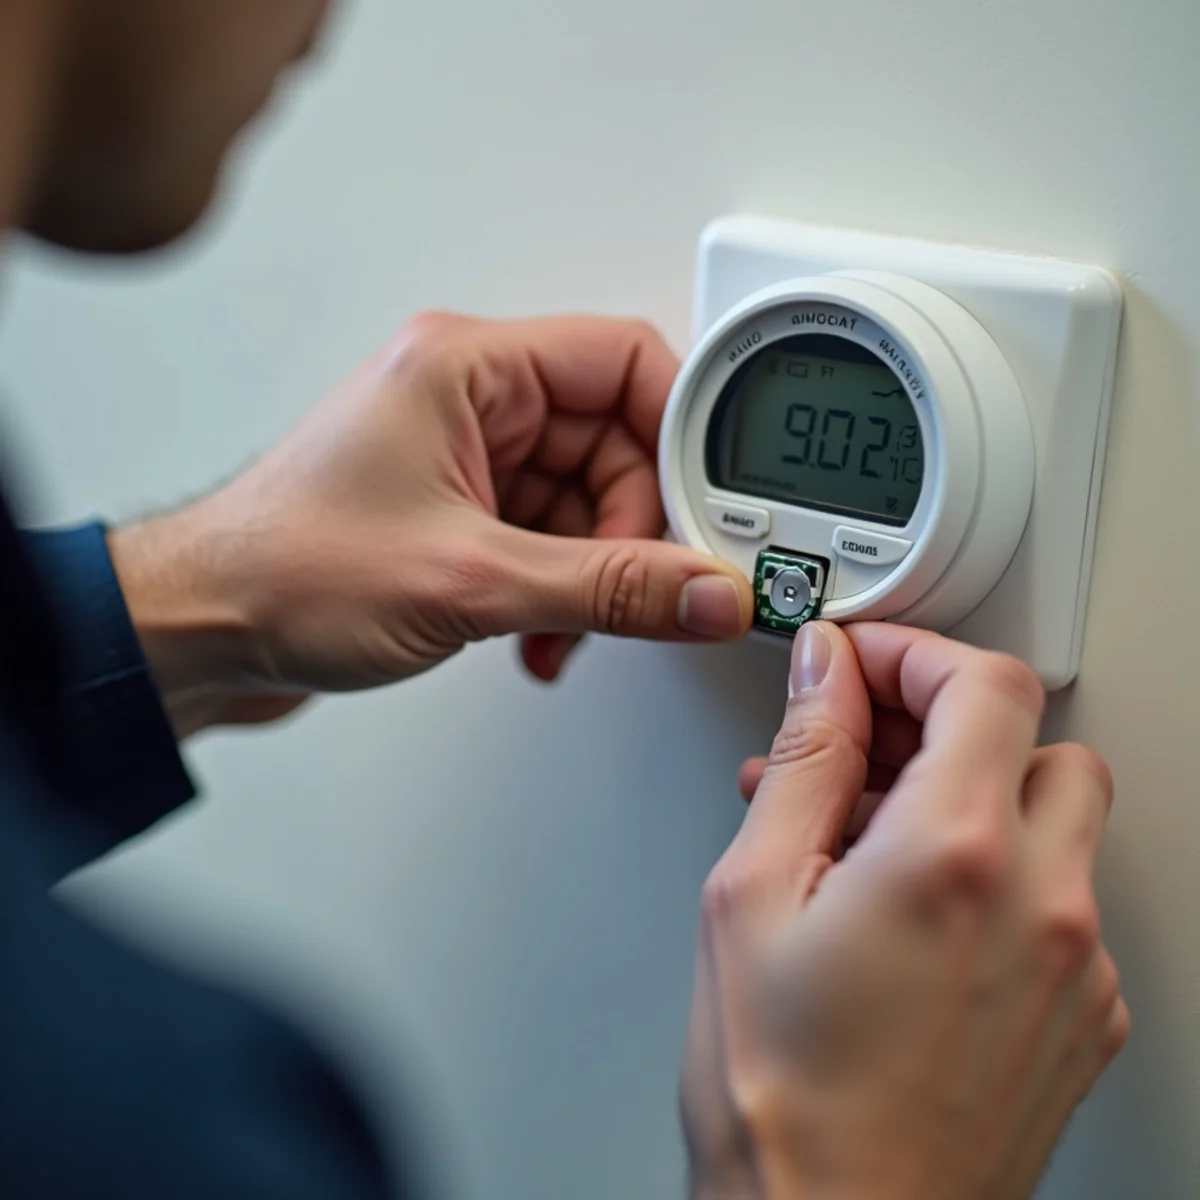
2. Check the Main Circuit Breaker Panel and Subpanel
Central air conditioning systems utilize two separate dedicated electrical circuits: one for the indoor air handler/furnace (typically a 15-to-20-amp 120V breaker) and one for the outdoor condenser unit (a double-pole 30-to-50-amp 240V breaker). High electrical demand during Prince William County summer grid spikes can trip the breaker without moving the switch completely to 'OFF.' Look for a breaker handle resting in the center position. To reset it safely, switch it fully 'OFF' first, then firmly to 'ON.' If it trips again immediately, stop and call for service—a dead short, grounded compressor winding, or seized fan motor exists that will cause severe damage if forced.
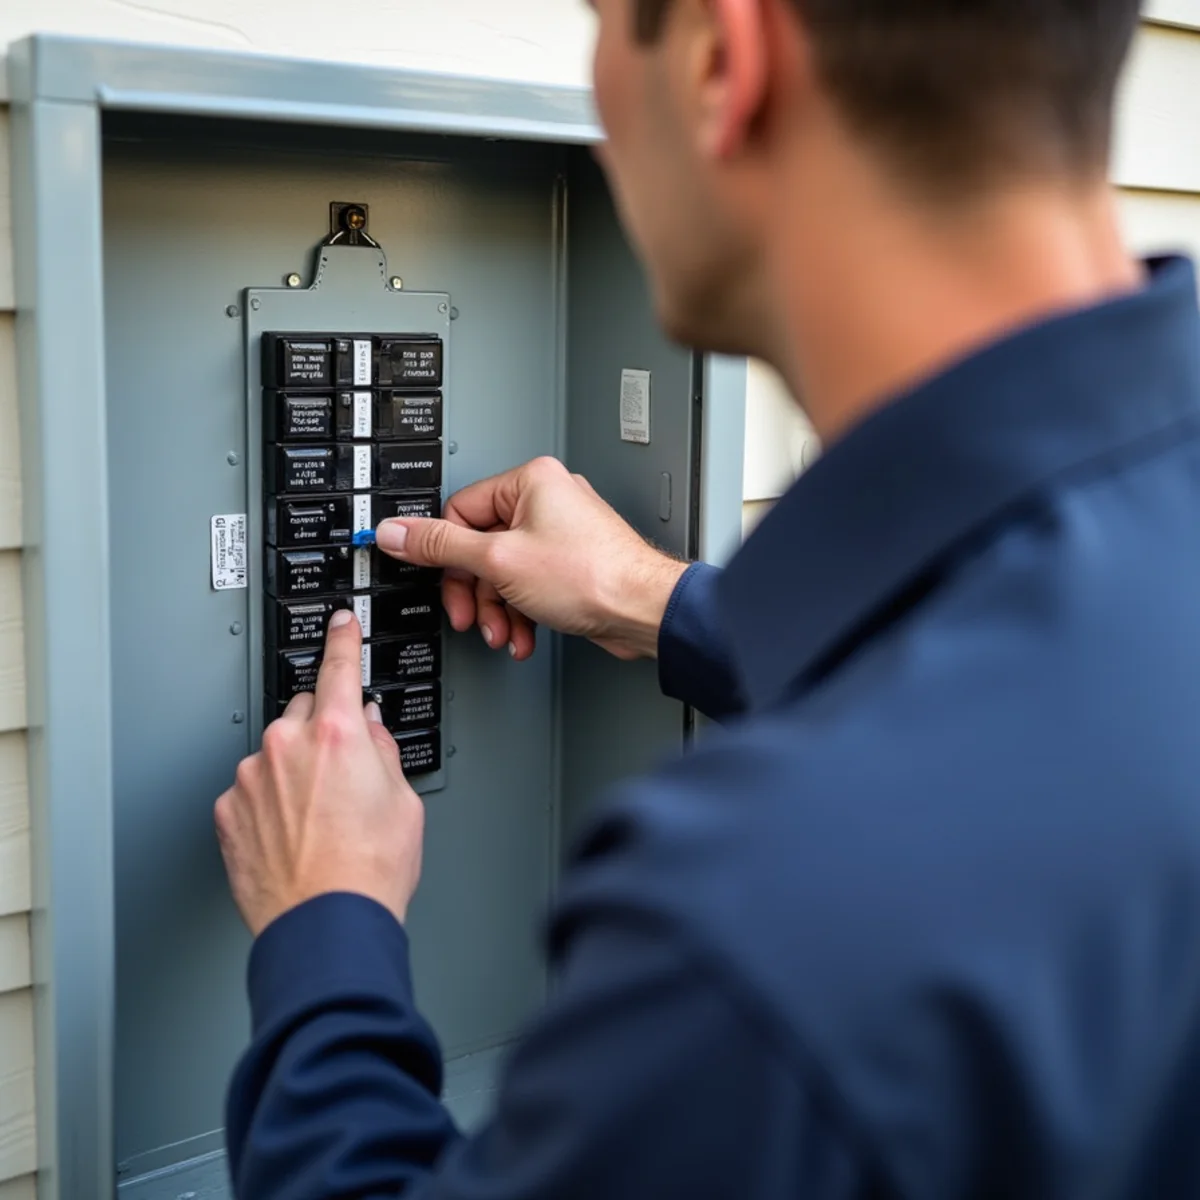
3. Examine Your Furnace or Air Handler Air Filter
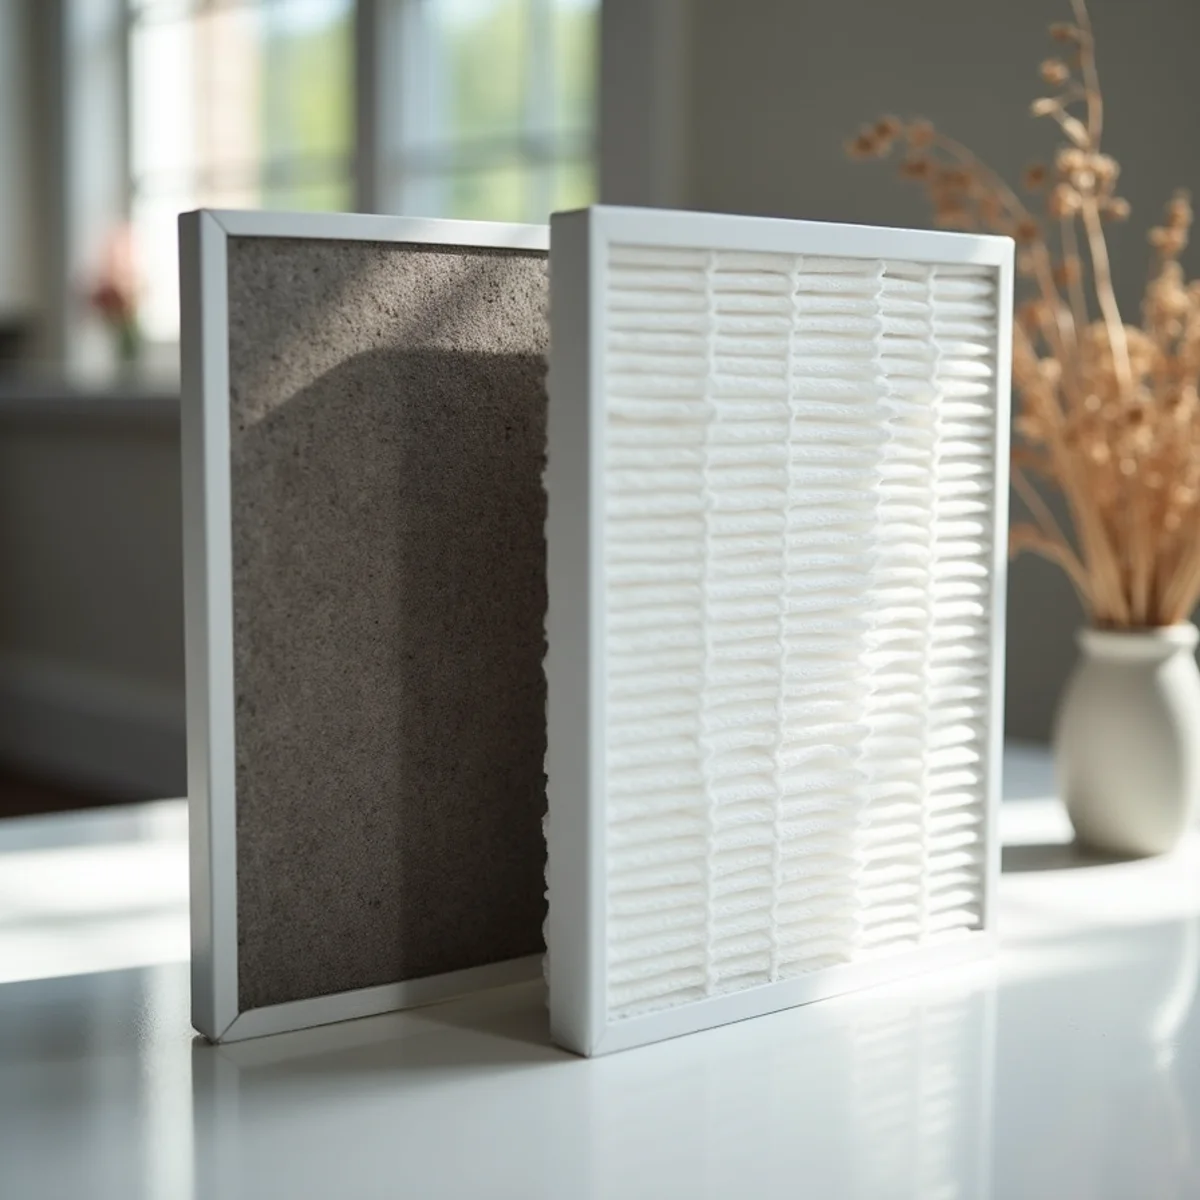
A severely clogged, dust-choked air filter is the leading cause of frozen evaporator coils and tripped blower limits. When return airflow drops below safe levels (less than 350 CFM per ton of cooling), the refrigerant cannot absorb household heat, causing the indoor coil to drop below 32°F and freeze into a solid block of ice. Check your filter; if it is dark grey and caked with pet hair, replace it immediately. If you see ice forming on the copper lines or outdoor suction line, turn the AC off at the thermostat and set the fan to 'ON' to thaw the system before technician arrival. Running the system while iced causes liquid refrigerant to flood back into the compressor, which destroys internal valves.
4. Check the Condensate Drain Pan Safety Float Switch
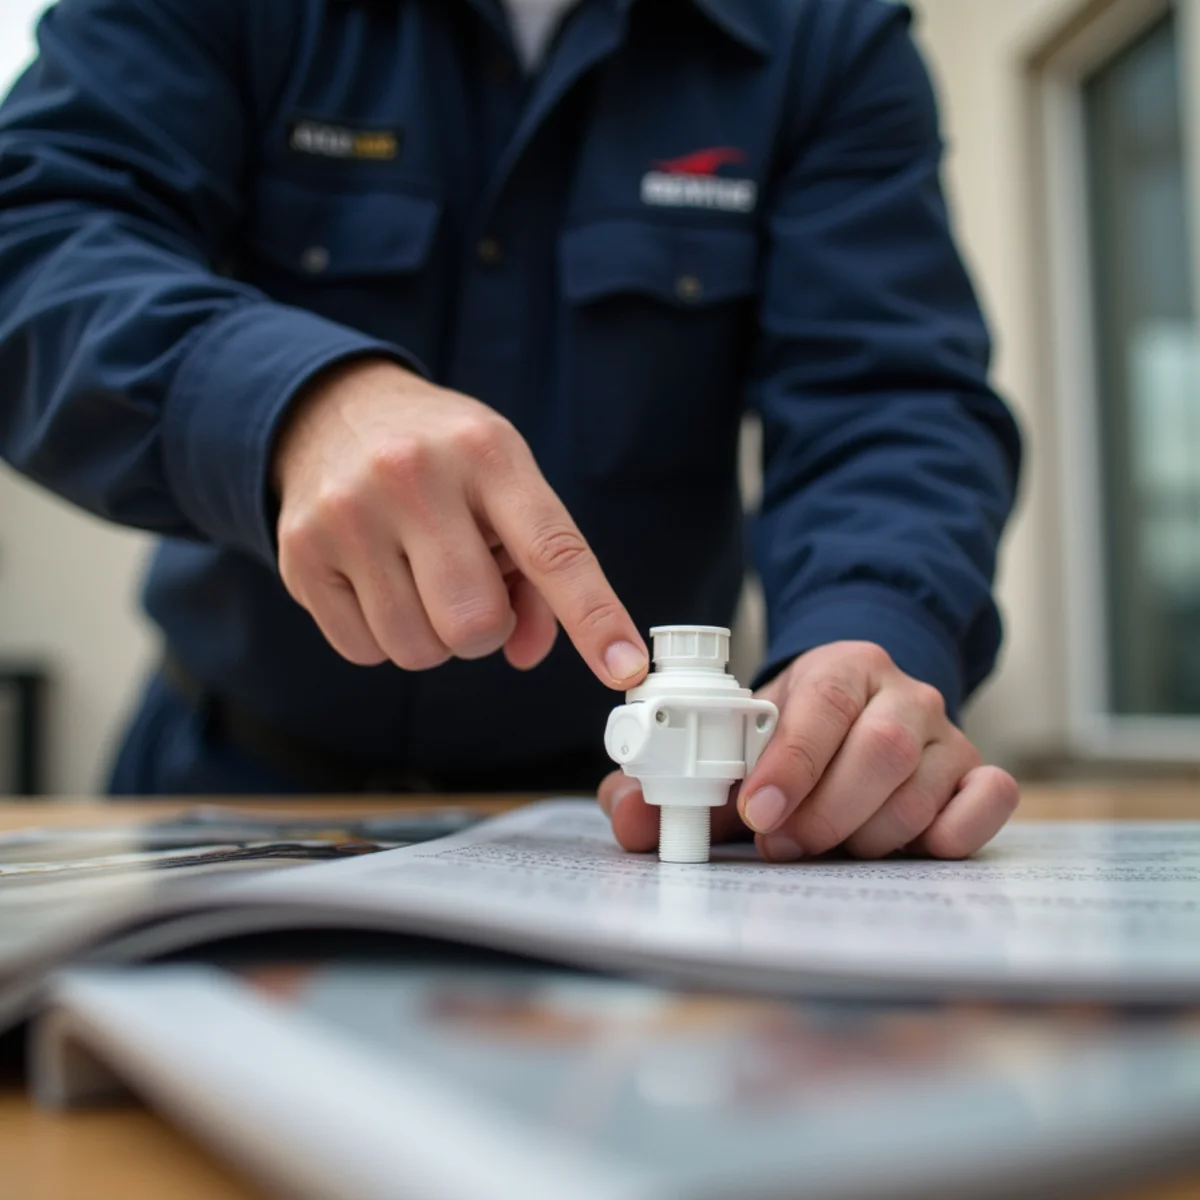
In modern Gainesville and Bristow homes, air handlers installed in attics or second-floor closets are equipped with an inline EZ-Trap safety float switch. When summer humidity produces 10 to 20 gallons of condensate water daily and biological algae or mold blocks the 3/4-inch PVC drain line, water backs up into the switch, raising the internal float and breaking the 24V thermostat circuit to protect your ceiling drywall from catastrophic water damage. If your drain line is backed up, inspect the float switch collar. Our emergency HVAC repair specialists clear stubborn blockages using pressurized dry nitrogen, wet-vacuum extraction, and long-lasting biocide pan tablets.
5. Verify the Outdoor Condenser Disconnect Switch
Adjacent to your outdoor condenser unit sits a metal electrical disconnect box. Ensure the door is securely latched and the internal pullout block is firmly seated in the 'ON' position. Ground vibrations, seasonal settling, or yard maintenance can occasionally dislodge loose disconnect blocks. For fused disconnect models, an unnoticed blown cartridge fuse caused by a utility power flicker will prevent 240V high-voltage current from reaching the compressor and fan motor while your indoor fan continues to run.
6. Clear Debris and Overgrowth Around the Outdoor Unit
Your outdoor condensing unit needs unobstructed airflow to expel heat absorbed from your home's interior. Maintain at least 24 inches of clearance around all four sides. Trim back overgrown shrubs, bushes, and clear away lawnmower grass clippings that coat the aluminum fins. When condenser coils become insulated with pollen and grass clippings, head pressure spikes past 450 PSI, causing thermal overload switches to shut the compressor down to prevent catastrophic motor failure.
7. When to Stop and Call a Licensed Professional
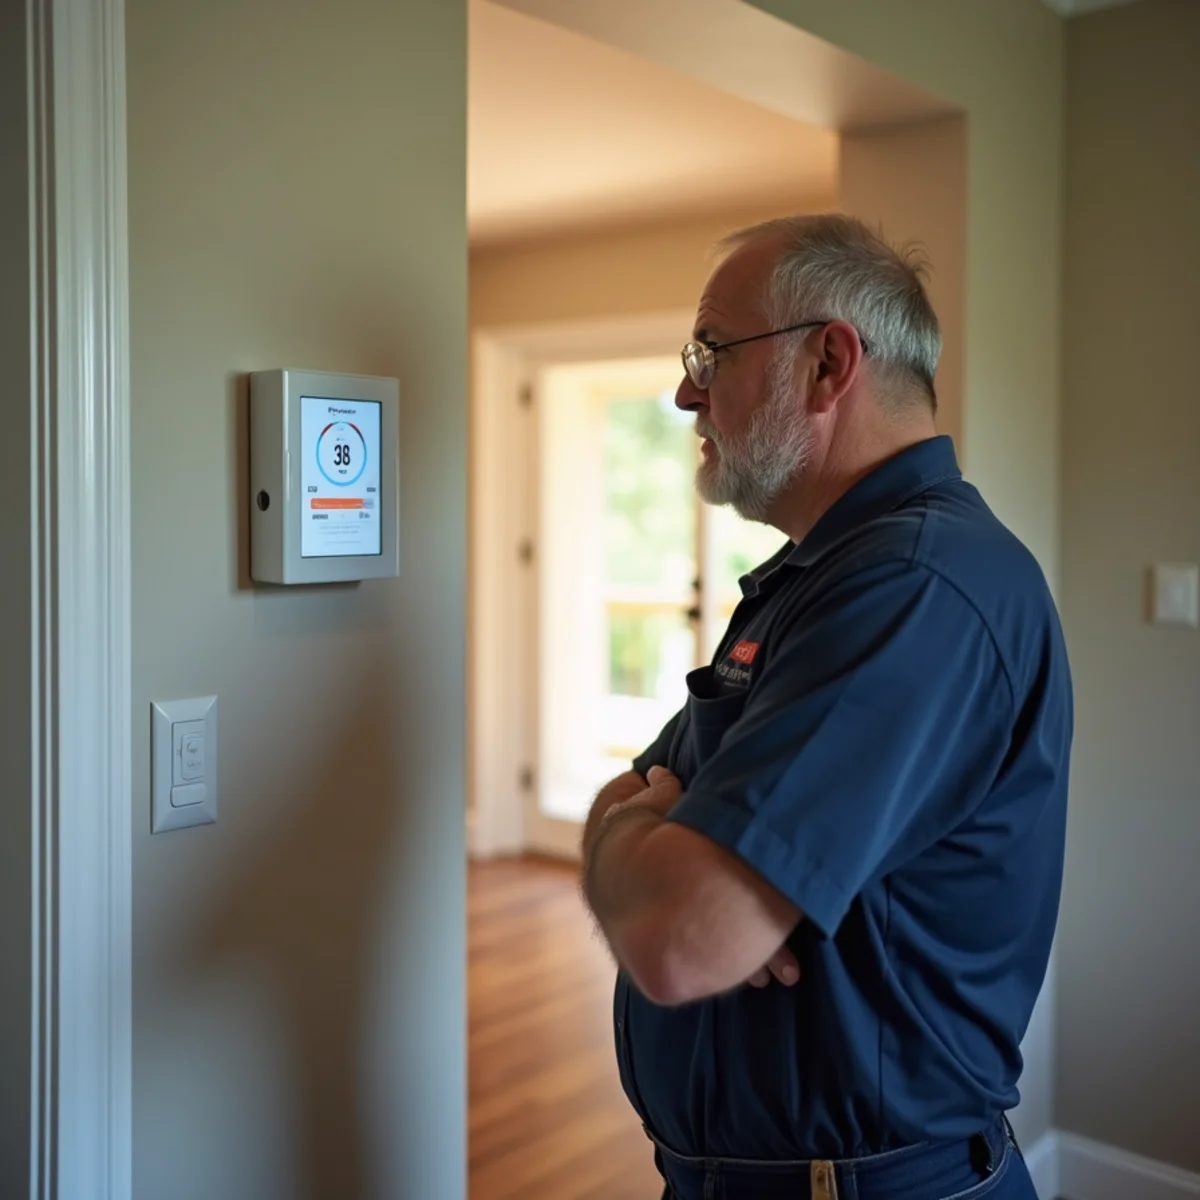
If you have completed these checks and the system still hums without starting, makes loud screeching noises, or blows warm air continuously, the issue is an internal electrical or mechanical failure—such as a blown dual-run capacitor, a burnt contactor, or a sealed system refrigerant leak. In this situation, turn off the AC at the thermostat to prevent compressor burnout and contact a professional technician. Continuing to force-run a failing compressor can turn a simple $200 capacitor repair into a $3,000 compressor replacement.
Frequently Asked Questions on This Topic
Quick practical answers for Northern Virginia homeowners.
Our local Gainesville HVAC dispatch team is ready to assist you.
Recommended Next Steps & Related Services
Need Fast Heating or Cooling Help in Gainesville?
Connect with our 24/7 dispatch coordinators to schedule diagnostic service with a licensed Virginia technician.
Not urgent? Send a request
For non-emergency quotes, planned replacements, and inquiries. For the fastest help, call (321) 478-0693.